Project: Sizzle (related blog posts)
Pattern: Sizzle, by Wendy Bernard
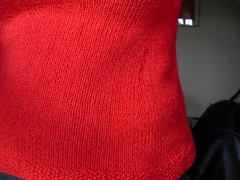
Yarn: Rowan Luxury Cotton, in Brick Red
Needles: 3.75mm
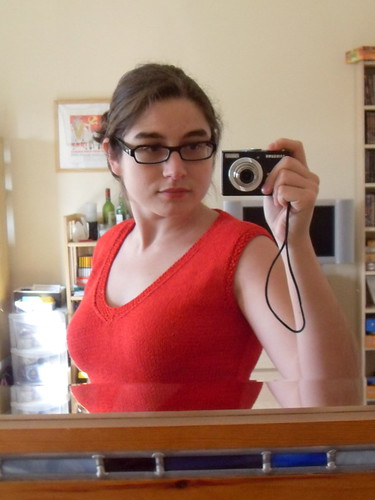
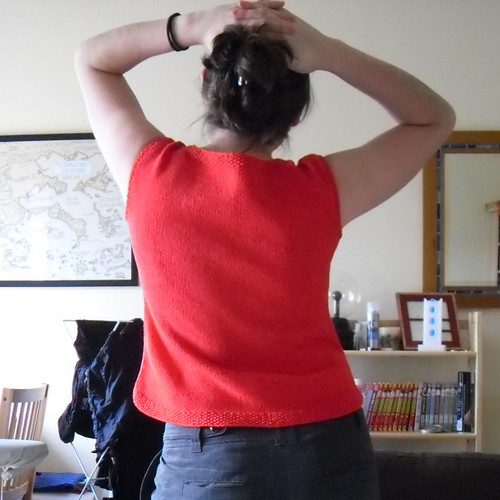
Woohoo! I finished Sizzle!
This has been a very long process, as Ravelry tells me I started it on the 29th July 2008. It hasn't quite taken me a whole year, but close.
I knitted the back first. Half-way through the front, I realised I had messed up the shaping, and had to rip half of what I had knitted. Sizzle was then put in the I'm -annoyed-at-you corner, and left to sleep for a couple of months.
Then I picked it up again and finished knitting it. But it was winter and cold, so it was put in the weather-isn't-nice-for-this corner (which is located in the same place as the annoyed corner).
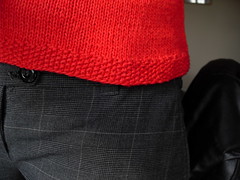
I took out of hibernation once more in March/April, and I managed to block it and started seaming it. Then I discovered my mistake: the front and back were different lengths! (more on this later).
So I unseamed one of the sides, and left it in the if-you-are-around-I-might-work-on-you corner, which is located on the living room table, as opposed to a drawer.
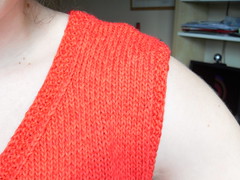
Some time later I tugged and pulled at the sides and weaved in the top half of the shell (from the start of the bust increases up), and the shoulders. Which I then unpicked to add some rows at the shoulders and make the top slightly longer. I then tried to do a 3 needle bind of at the top instead of the grafting, which prompted another unpicking and adding extra rows, as a 3 needle BO does eat some of the rows.
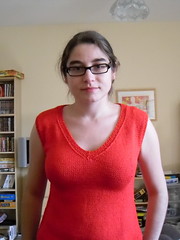
At this stage, I finally liked how it looked when I tried it on.
Seaming the rest of the sides proved interesting, although thankfully there was no more ripping to be done. When I put the front and back together, the front was longer (hence the pulling etc). So I seamed to try to incorporate that into the seam. The first seam ended up having the front a couple of rows longer than the back, but because the end is open, it looked fine. However, along the second seam the back was longer than the front. Thankfully, trying it on showed that the fit was still fine, so there was no need to rip again.
Adding the neck and sleeve borders was trivial, and was done this weekend, finishing it off at S'n'B. A quick go with the iron later, and I finally have my ordeal-filled Sizzle. I must confess, that at several points during the trying-to-make-it-work-seam process, I was very tempted to just rip it all off, and start again from scratch, this time knitting it in the round. I guess I'm lucky I didn't have a very down day, although ripping it would have been quite cathartic.
Were I to do this again (which I could, it's a nice project), I would certainly do it in the round, and if you are thinking on trying it, I would recommend it!
I might go to a party next Friday, and that might be a good time to wear it.


That turned out really well and it looks great on you! I also applaud your patience in plugging through it to the end!
ReplyDeleteGorgeous! Love the bright colour and the shaping, it fits you perfectly. You get brownie points for finishing something you started so long ago - I rip anything that's been at the needles for longer than 8 months!
ReplyDeleteBeautiful! You should share it on Ravelry with the Knit and Tonic Knitters group!
ReplyDeleteFantastic! It looks great on you, well done!
ReplyDeleteLovely! They say good things take time, and this proves the rule :)
ReplyDelete